Storing Confidence
With water reserves during dry spells, rapid installation water tanks ensure an uninterrupted supply, providing a dependable solution for critical water needs now and the future.
Sprinkler Systems Case Studies
Sprinkler Systems
The Rapid Water Tank Bundle presents an ideal solution for those seeking to optimize their sprinkler system's performance by providing a reliable Water Storage solution. Designed to ensure a continuous water supply for efficient irrigation, this innovative bundle combines convenience and functionality seamlessly. The water tank lid, thoughtfully designed, can be easily removed to grant access for regular maintenance, ensuring the interior remains clean and free from debris. Moreover, the tank outlet can be customized to precisely meet the specific requirements of the sprinkler system.
Taunton Town Football Club
14,000 Litre Water Tank Bundle
Water Storage, Backup Water Supply
Ready to Use in 2 Days
17.10.2022
Taunton, Wales, UK
Overview
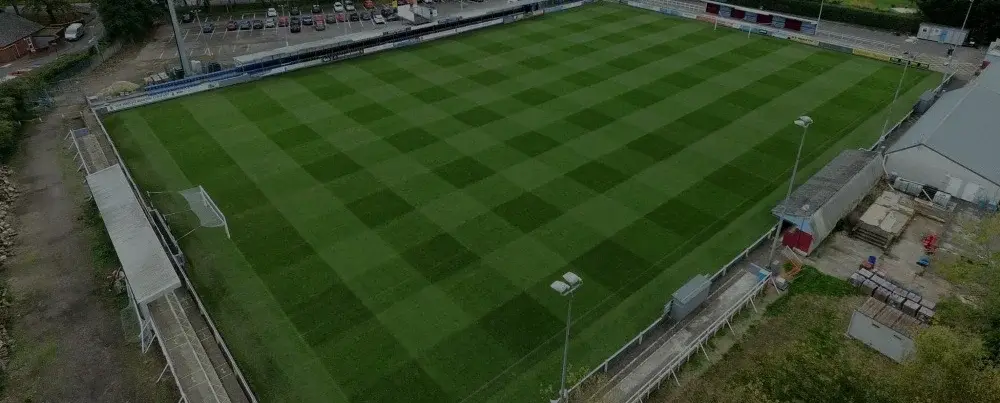
Taunton Town Football Club is a professional football club based in Taunton, England, UK. The club aimed to maintain a perfect playing surface by ensuring regular and high-capacity water storage to feed their sprinkler system for the field.
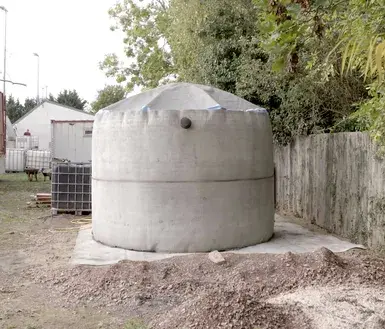
Our 14R Bundle was chosen due to the rapid installation, instead of enduring the lengthy waits (months) typically associated with constructing a concrete base for a plastic tank to be installed in the UK. Our 14R Bundle shortened the whole tank installation process to just two days. In this project, one 14R bundle was installed in two days, by a team of two.
Application
Now Taunton Town Football Club is utilizing the tank for the sprinkler system to irrigate the whole football pitch.
Installation Process
1. Insta-Slab Preparation
When installing a tank at Taunton Town Football Club, the presence of rocks on the ground posed a challenge. To overcome this, the preparation included removing big rocks and leveling the ground with a sand bed. Then we set up the Insta-Slab to establish a stable and level surface, providing protection for the tank. To enhance the stability and longevity of the Insta-Slab, and prevent any shifting or movement, we used pegs to fix the Insta-Slab.
2. Tank Inflation
After creating a flat base with the Insta-Slab, the next step involved inflating the tank and carefully positioning it above the Insta-Slab. The tank was inflated to the desired shape, which took around five minutes.
3. Tank Hydration
Once the tank was properly inflated, the tank surface required hydration to start the curing process. We sprayed water on the tank walls three times to ensure maximum strength and durability. The installation team monitored the hardening process closely to ensure the tank attained its intended strength and hardness.
4. Roof Structure Installation
After the tank had cured overnight and hardened, the installation team inserted fiberglass poles as the tank's inner structure. These poles provided additional support and stability for the lid of the tank. Once the fiberglass poles were securely in place, the team proceeded to close the tank lid. Tank lids are typically designed with zippers for easy opening and closing.


